Basic OWL Lab Session
In this OWL lab you will get started using Protégé to create and edit an ontology.
Remember to regularly save your work as you go through by clicking ‘File -> Save’
Starting Protégé
Local Installation
If you have installed your own copy of Protégé then you should start this up in the usual way for your platform.
MACS Lab/VM Installation
To open Protégé on the MACS Linux machines or VM follow these steps:
- Click on the ‘Applications’ menu in the top left
- Choose protege from within the Programming menu
- Click ‘Not Now’ from the plugins popup menu once Protégé has started
Opening Shell Ontology
I have created a shell ontology which contains basic metadata that all ontologies should provide as a minimum. We are going to use this as a starting point for the Lab.
- Select ‘File -> Open from URL…’
- Enter the URL for the ontology
https://alasdairgray.github.io/ns/ontology-start.owl - Save the ontology to your local disk
- ‘File -> Save’
- Select ‘Turtle Syntax’
- Give the ontology a suitable filename
- Choose where to save the file and click ‘Save’
Your ontology should look something like the following screenshot.

Updating the Ontology Metadata
To edit a metadata element, click on the circle icon and type in the new value. Do this for the following elements:
dcterms:creatorwhere the value isAlasdair Gray; put your own name indcterms:descriptionreplace with your own description textdcterms:titlereplace with your own ontology title
To remove a metadata element, click on the x in a circle next to the element. Do this for the creator element that has a URL.
Creating our first Classes
We will now create some classes to represent people and courses within a university.
-
Click on the ‘Entities’ tab
-
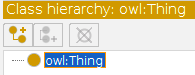
Click on
owl:Thing; all classes must be defined below this most general class -
Click on the icon containing two yellow balls with a + sign
-
Type in the name of the class that we are creating
CourseNote: for the ease of discussion we will use labels as names. In real-world scenarios it is considered best practice to use opaque identifiers. -
Now create a sibling class to
CoursecalledPerson; you can do this same way as for theCourseclass or use the add sibling class option. -
Now let’s declare
CourseandPersonto be disjoint since no individual could be both an instance of both of them.- In one of the classes, click on the
+icon next to the textDisjoint With - In the popup window, browse through the class hierarchy and choose the class that you are declaring to be disjoint with
- In one of the classes, click on the
Running the Reasoner
We will now run the reasoner to ensure that our ontology is consistent. It is good practice to regularly check your ontology for consistency.
- Click on the ‘Reasoner’ menu item
- Select ‘HermiT’
- Click on the ‘Reasoner’ menu item
- Select ‘Start reasoner’
Creating some Individuals
We will now create some individuals for our ontology.
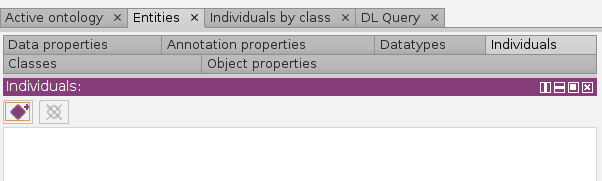
- Click on the ‘Individuals’ tab within the ‘Entities’ tab
- Click on the purple diamond icon
- Create an individual called
aliceby typing ‘alice’ into the popup and clicking OK - Declare
aliceto be of typePersonby clicking on the+icon next toTypesand then choosingPersonfrom the ‘Class hierarchy’ - Create the individual
f20bdto be of typeCourse
Deliberate Inconsistency
We are now going to create a deliberate inconsistency so that we understand when the reasoner is informing us of a problem.
- Select
alicefrom the individuals that you created - Click on the
+icon next toTypesand state thataliceis of typeCourse - Synchronise the reasoner by going to the ‘Reasoner’ menu and selecting ‘Synchronize reasoner’
You should now see the following screenshot

Click on the ‘Explain’ button to get an indication of what axioms in the ontology have led to the inconsistency. The explanation shown in the following screenshot states that Course and Person are disjoint and that alice has been declared to be of type both of them.

Click OK and then fix the ontology by removing the declaration that alice is of type Course.
Note that Protégé has highlighted in red the two axioms that led to the contradiction.
Once you have performed your fix, synchronise the reasoner.
Creating Multiple Children Classes
We are now going to create multiple children to be subclasses of Person. These classes will be for staff and students and their sub classes. We will not declare them to be disjoint since it is permissible for staff members to be students.
-
Click on the ‘Classes’ tab within the ‘Entities’ tab
-
Choose the
Personclass -
Click on the ‘Tools’ menu and select ‘Create class hierarchy…’
-
Within the resulting popup enter the class names; each on their own line with indentation to capture the desired hierarchy.
Staff
	Academic
	Administrative
Student
	Undergraduate
	Postgraduate
Note: you can use the prefix and suffix options at the bottom of the popup to give all your classes the same start or end.
-
Uncheck the checkbox for making siblings disjoint since a student could be a staff member
-
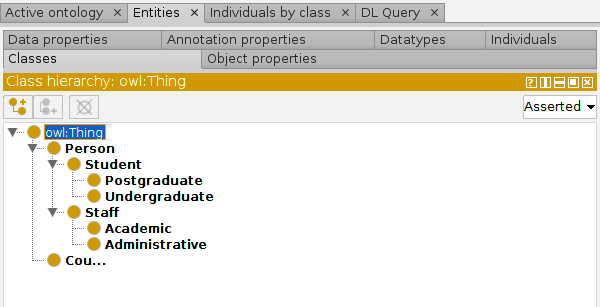
Click ‘Finish’
You should now see the classes in the class hierarchy
Bad habits come easily
Unfortunately, Protégé does not encourage best practice. In this case, I mean that we have not defined any of our classes by annotating them with labels and descriptions; the class identifiers we have been using do not count as labels and should not be relied upon to define the entity.
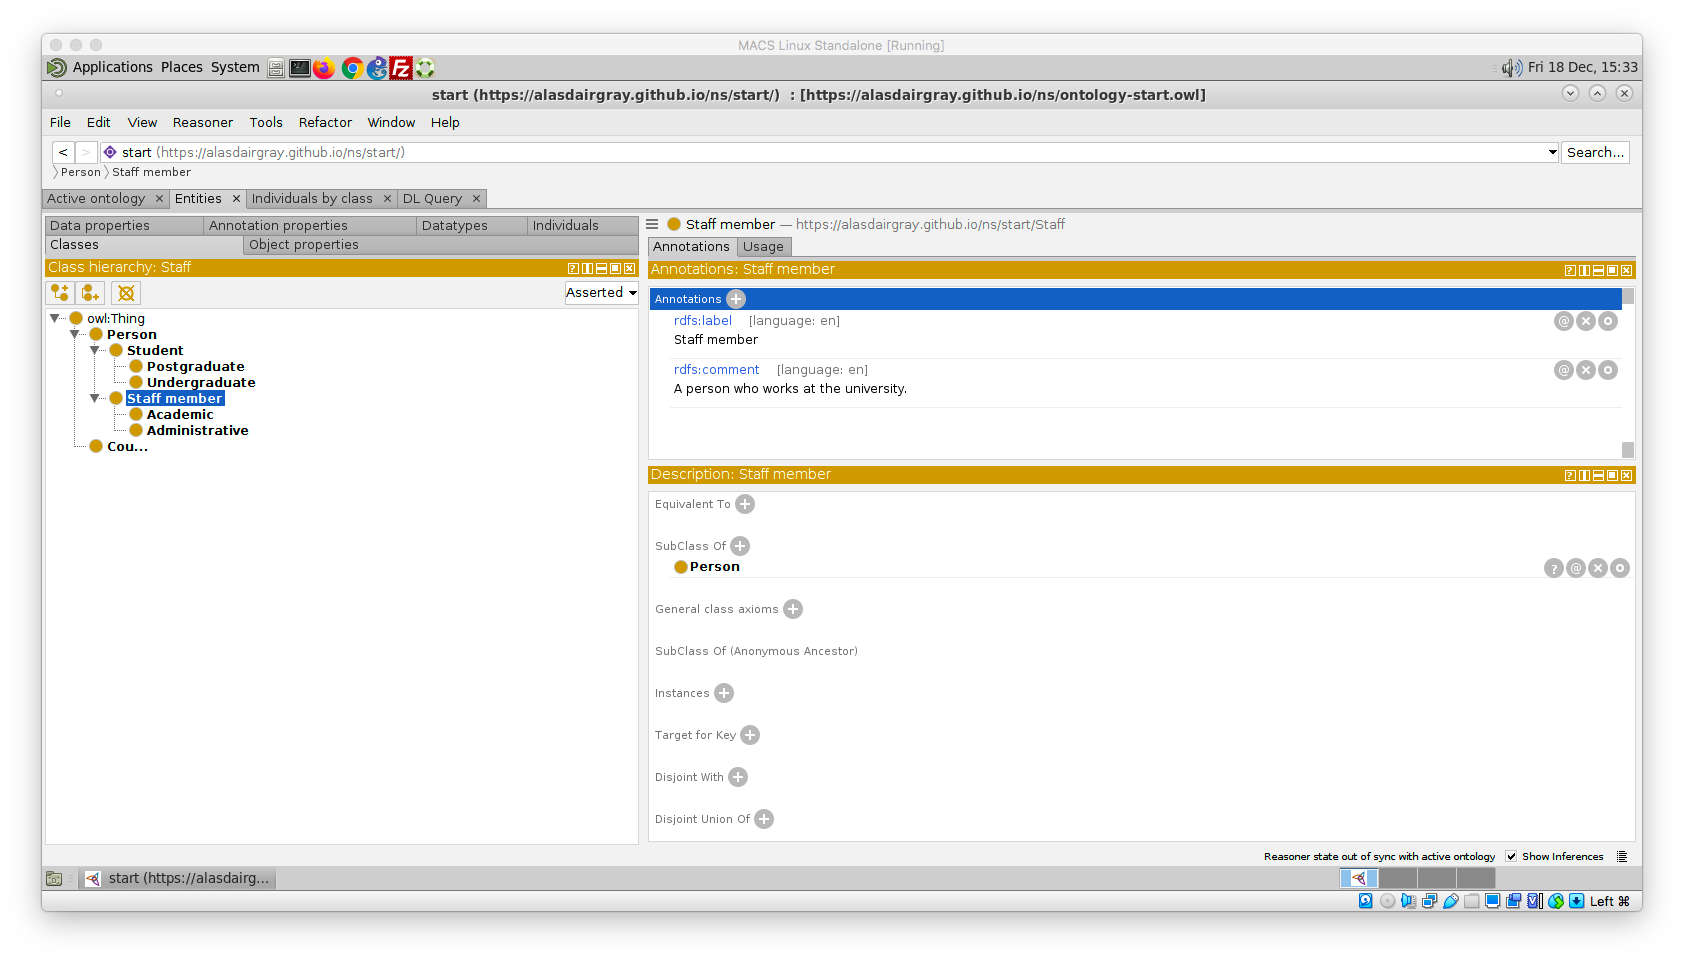
- Select the
Staffclass - Click on the
+icon next to ‘Annotations’ - Select
rdfs:labeland enter the textStaff memberin the box at the side - Select
enfrom the ‘Lang’ dropdown item and click OK - Click on the
+icon again - Select
rdfs:commentand enter the textA person who works at the university. - Again select
enfrom the ‘Lang’ dropdown and click OK.
Now annotate all the other classes.
Creating Object Properties
Now that we have some classes, we want to be able to relate them. We will create relationships between academics, courses, and students.
In line with good practice, we will assume that you are annotating the properties with labels and descriptions. The instructions here will focus on the creation of the object properties.
We will create multiple object properties at the same time. Again, you can have a hierarchy of properties, although this is not as common.
-
Click on the ‘Object properties’ tab
-
Select the
owl:topObjectPropertyproperty -
Click on the ‘Tools’ menu item and select ‘Create object property hierarchy…’
-
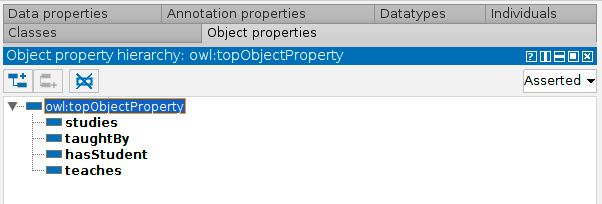
Enter the following properties into the popup window
teaches
taughtBy
studies
hasStudent
Note that I have not been consistent in the way I’m calling my properties. This is to show you different styles. Instead of
taughtByit would be better to usehasTeacher. -
Do not make the properties disjoint
Now provide labels and definitions for each of the properties.
Defining Characteristics of our Object Properties
We will only define domain, range, and inverse property definitions for the properties that we created since non of the other characteristics hold for these properties.
- Click on the
studiesproperty - Click on the
+icon next to ‘Inverse Of’ - In the list of properties, select
hasStudentand click OK - If you click on
hasStudentyou will see that it now hasstudiesas an inverse property - Go back to
studiesand click on the+icon next to Domains - Select
Studentfrom the class hierarchy - Now click on the
+icon next to Ranges and selectCoursefrom the class hierarchy
Now repeat this for the other properties. Courses should be taught by an academic.
Defining Data Properties
This is done in the same way as for Object Properties.
Create a data property hasName that gives the name of a Person, i.e. its domain is Person.
Create a data property courseTitle that gives the title of a Course.
Exploiting the Reasoner
We are now going to declare the :alice :studies :f21bd.
- Create the individual
:f21bdbut do not declare it to be of any type. - Select
:aliceand click on the+icon next to ‘Object property assertions’ - Enter
studiesandf21bdinto the respective boxes and click OK
Now synchronise the reasoner and see what it has inferred for :alice and :f21bd. They should both have types highlighted in yellow.
About Me

I'm an Associate Professor in Computer Science at Heriot-Watt University. My research focuses on linking datasets. Read more